Check Step by Step Procedure to Convert OLM File
Step 1: Download, install, and run OLM Converter.
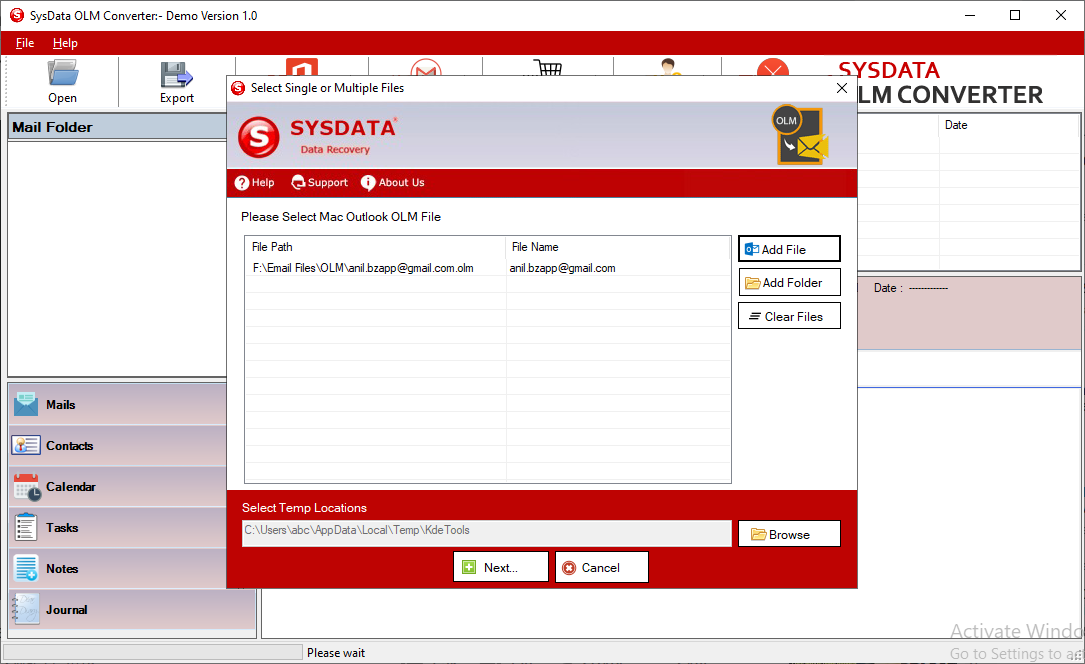
Click on the "Open" button and browse single or multiple OLM files.
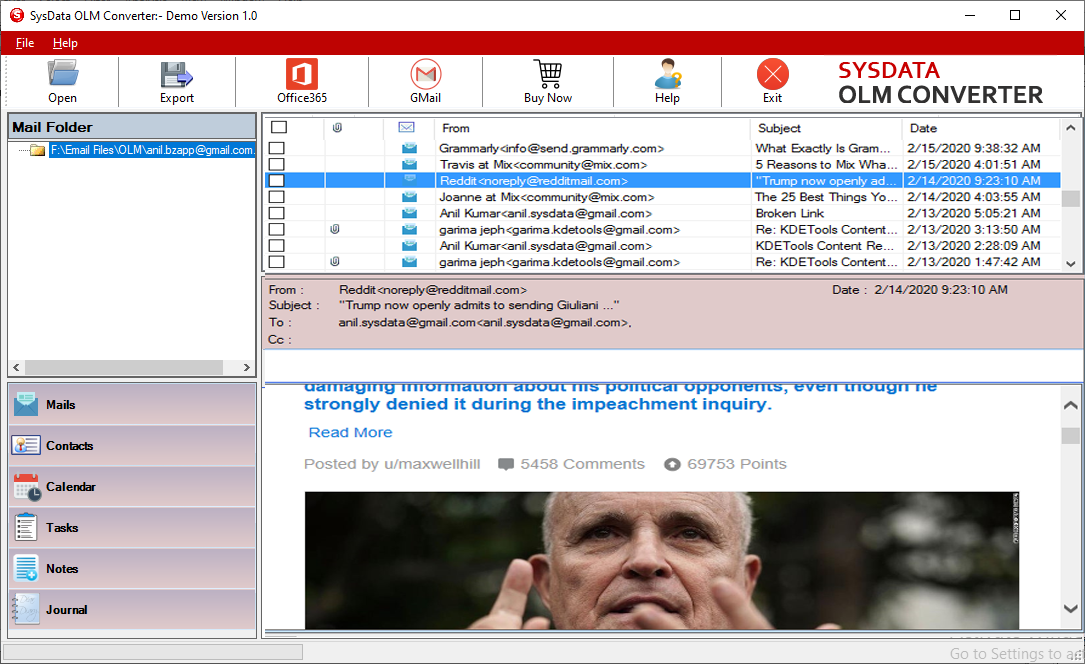
Step 2: Check preview of OLM file with complete header details and attachment info.
Step 3: Click on the "Export" button.
Browse Destination Path and select PST as Export option.
To split resultant PST file, select checkmark box labeled "Split PST", and select required file size.
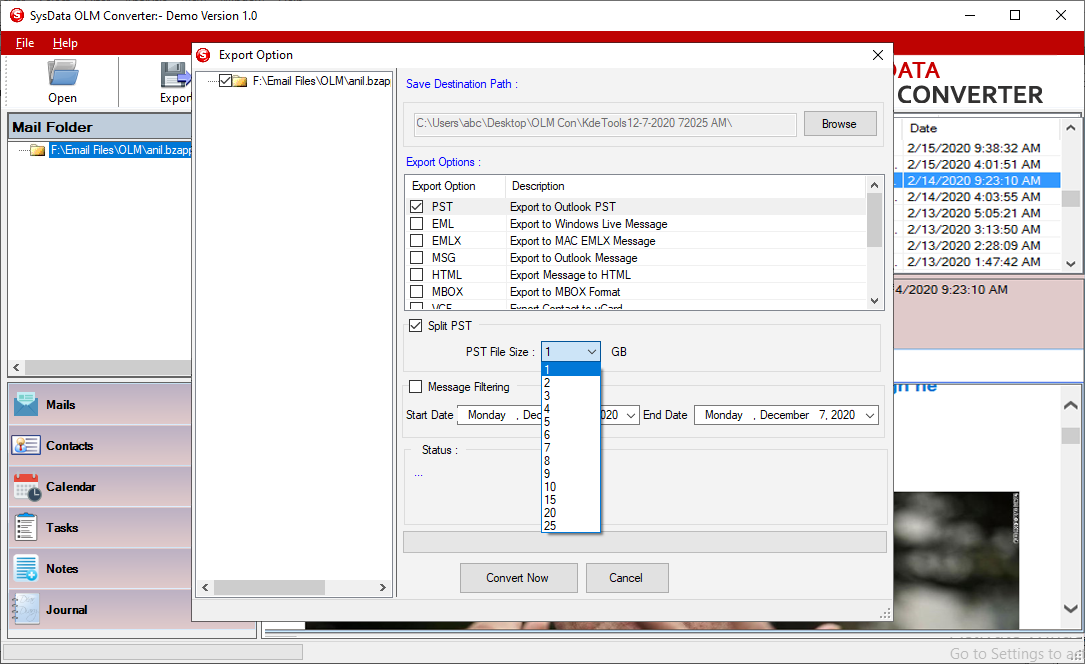
Step 4: Select Message Filtering option, to divide OLM file by specified date range. It helps you to export data between the specified date range.

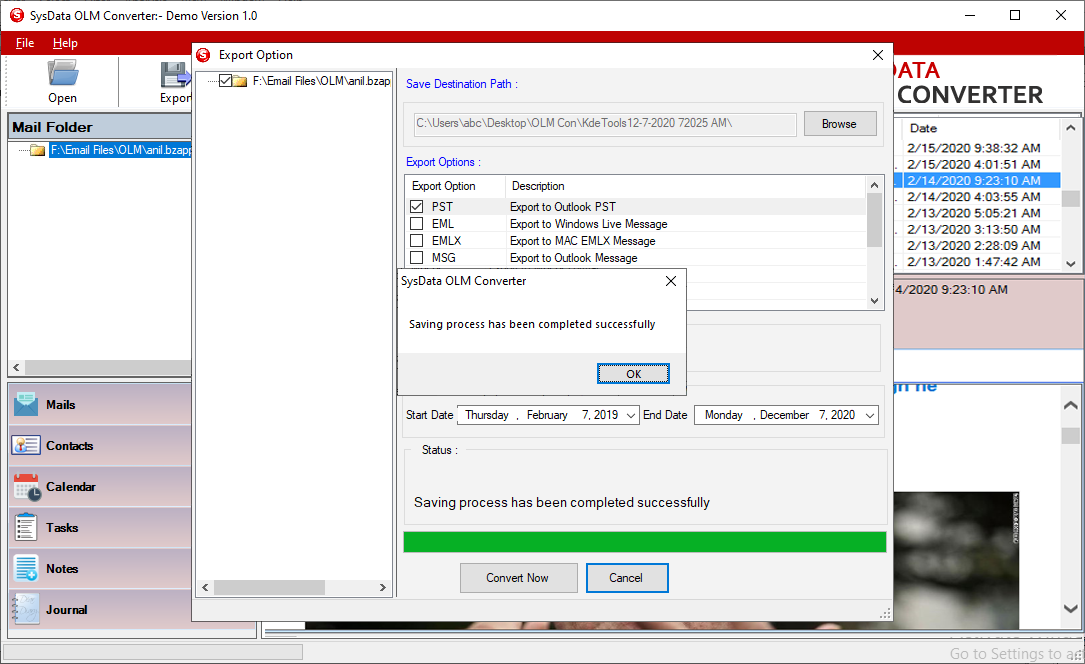
Step 5: Click on "Convert Now" button to convert MAC OLM file to the PST format for Windows Outlook.
Step 6: Click on the "Gamil" button from the menu and enter Login credentials of the Gmail account.
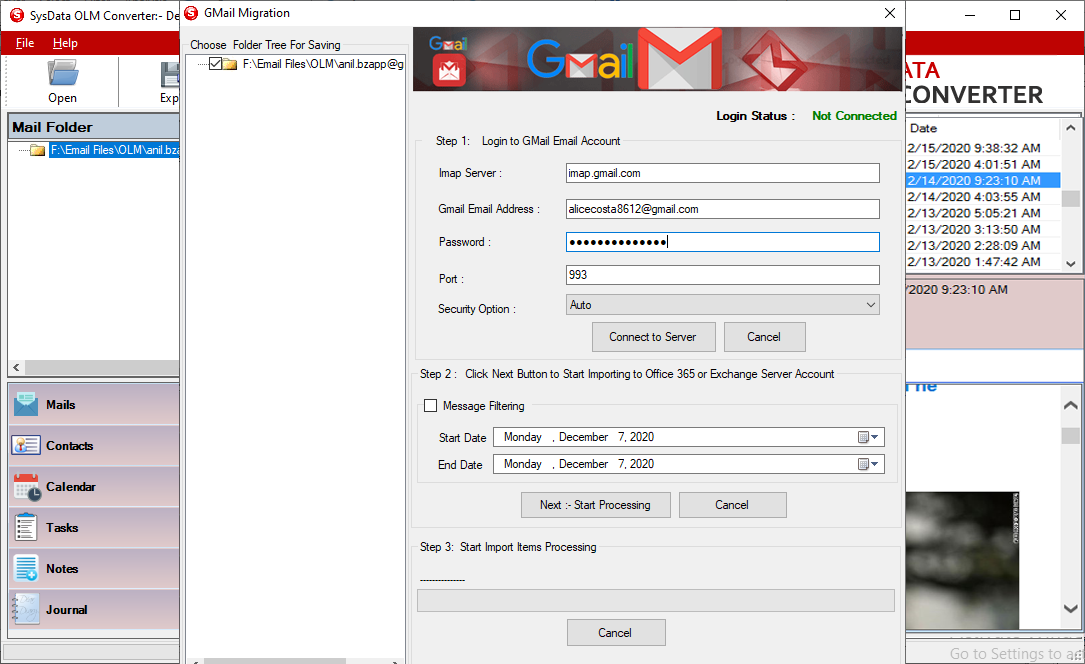
Step 7: To filter messages between specified date range, selct Message Filtering option and specified required date range.
Click on "Start Processing" button to import OLM data to the Gmail account.

Step 8: Click on the "Office 365" button from the menu, and enter Office 365 credentails.
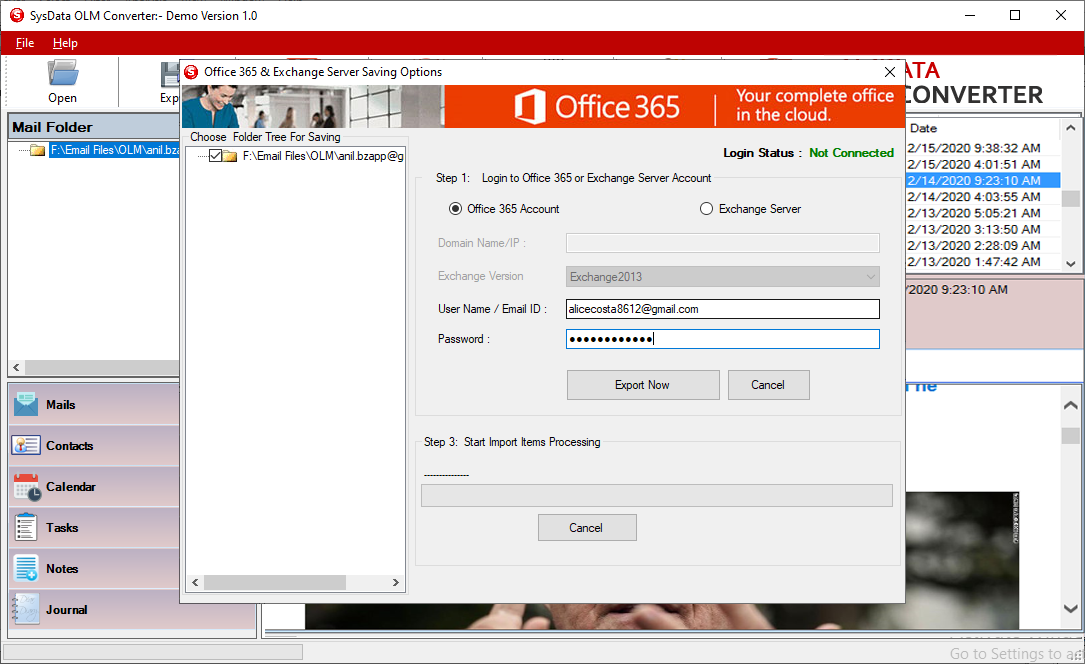
Step 9: Click on the "Export Now" button to connect with the server and import OLM file contents to the Office 365 account.

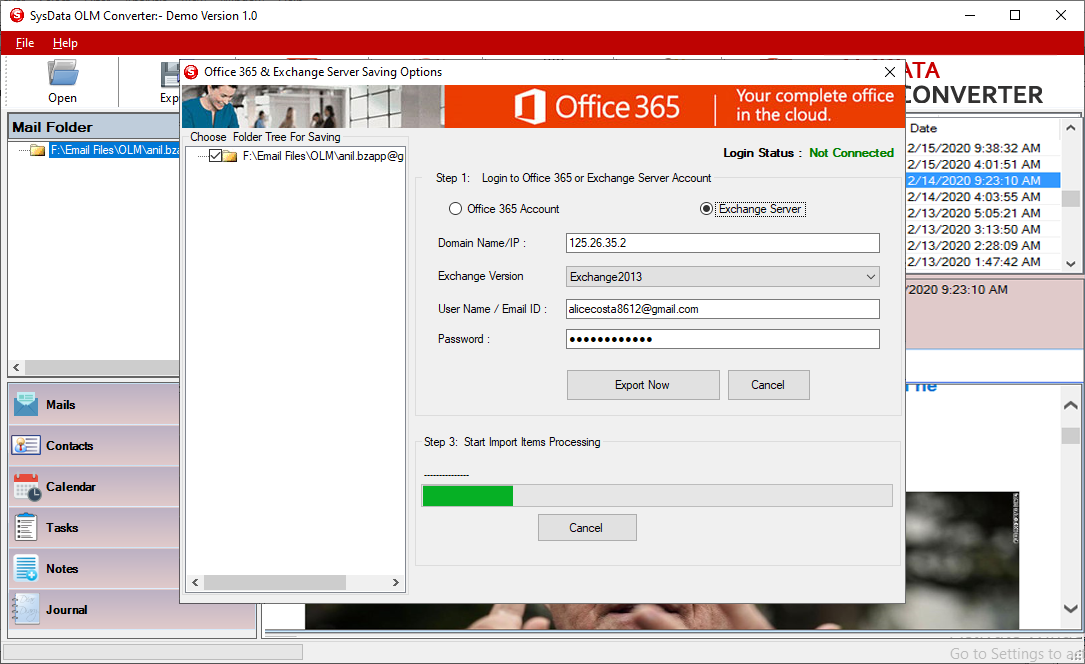
Step 10: Click on the "Office 365" button from the menu and selct Exchange Server option.
Enter Exchange server credentials.
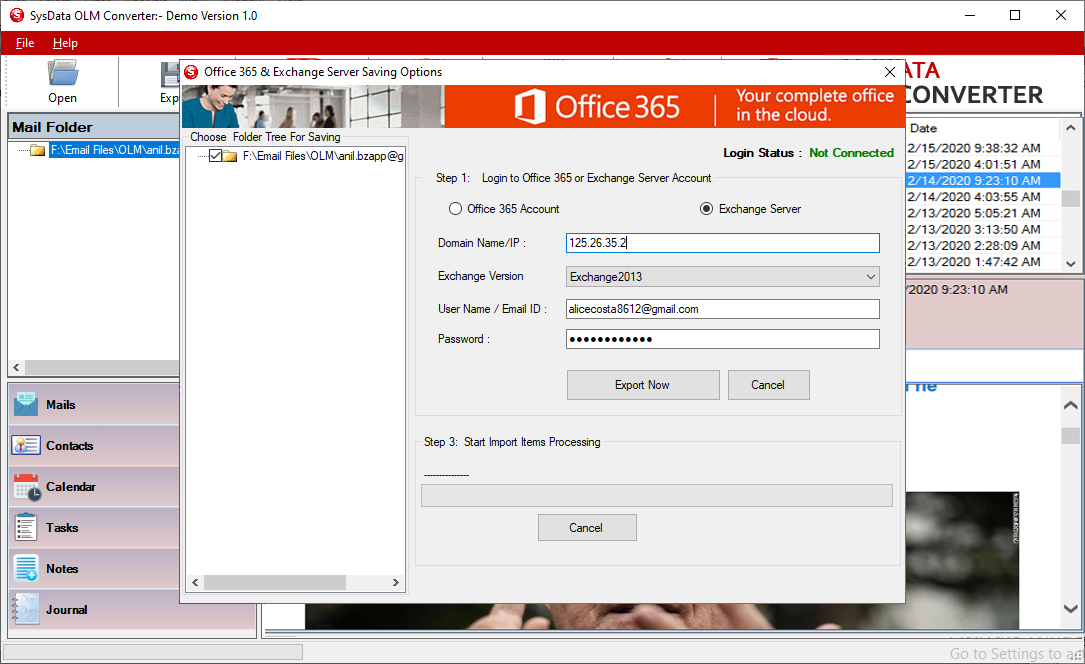
Step 11: Click on the "Export Now" button to connect with the server and import OLM file contents to the Live Exchange server account.