
How it Works?
Working Steps of SysData Outlook Recovery
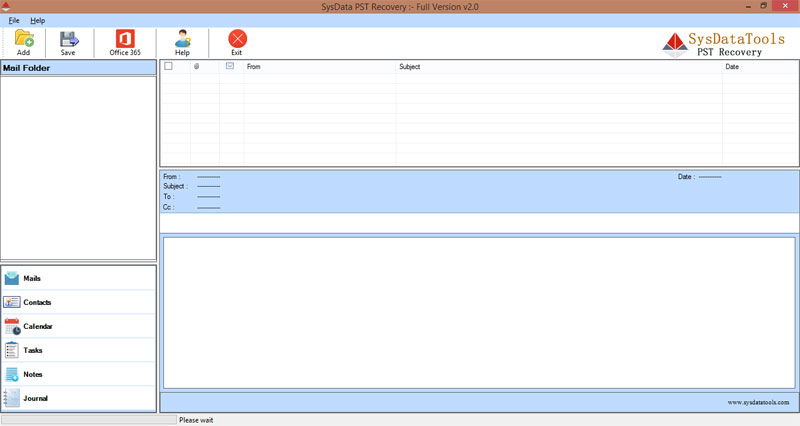
Step 1: After installing the software, Open it and you will see this welcome screen. After that you need to click on Add button to browse .pst file.
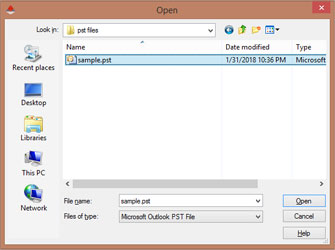
Step 2: Select corrupt or orphan .pst file from your local Path. Defult path for .pst file is \Users\user\AppData\Local\Microsoft\Outlook. After choosing .pst file from location, Click on Open button to start scanning process.
Step 3: As you click on Open button software will "start Scanning Process" to retreive PST file items and will show you a pop up window about completing scanning process.

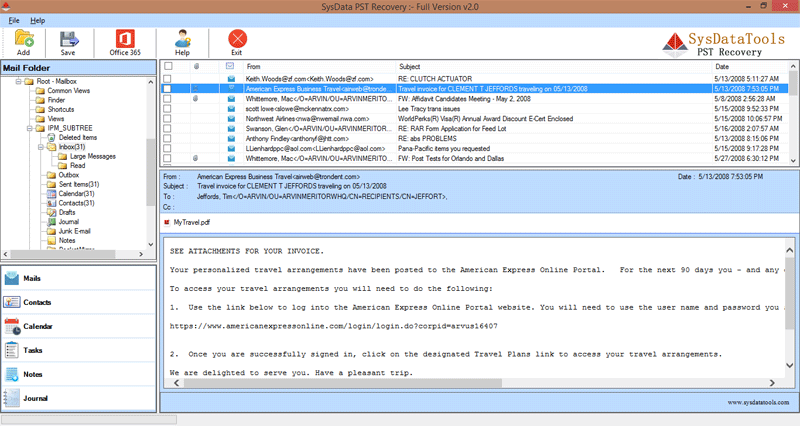
Step 4: After completing scanning process, software will show you a complete preview of recovered pst file items like: emails, contacts, calendars, notes & etc.
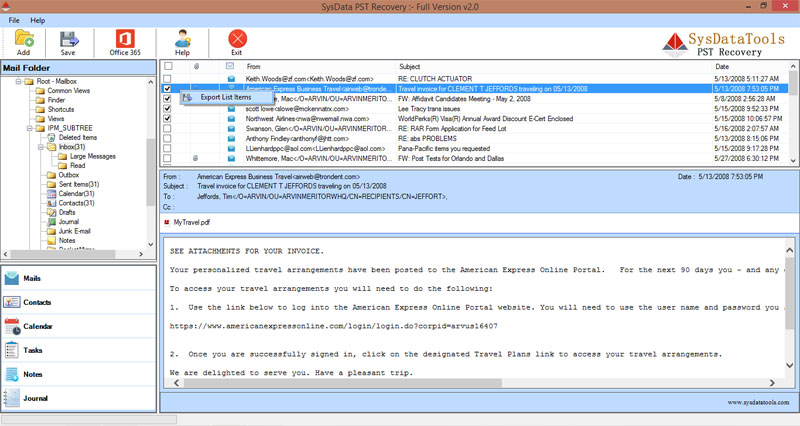
Step 5: This Outlook recovery software offers you to export selected or some desire items to save into your desire file foramt.
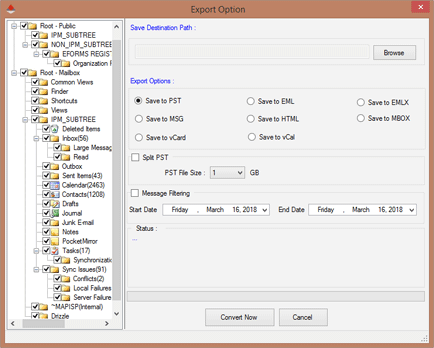
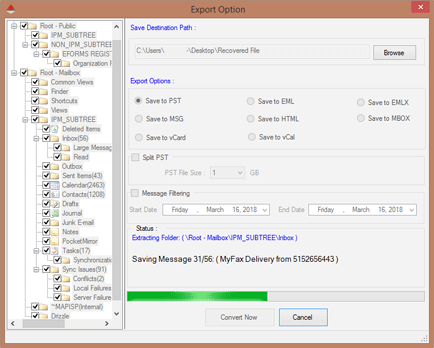
Step 6: If you want to Export entire recovered data then you need to click on "Save" button on "Top Left" corner without selecting any item to save data into PST, EML, EMLX, MSG, HTML, MBOX, vCard and vCal format. Now Click on "Convert Now" Button to begin the conversion process. In this screen you can do following things:
- Required: You have to choose File Destination, where you want to save your recovered data in your desire file format.
- Optional: You have an option to Split PST file data into Small PST from 1GB to 25GB via "Split PST" option.
- Optional: Here is a "Message Filtration" option which allows you to save data in between specific date.
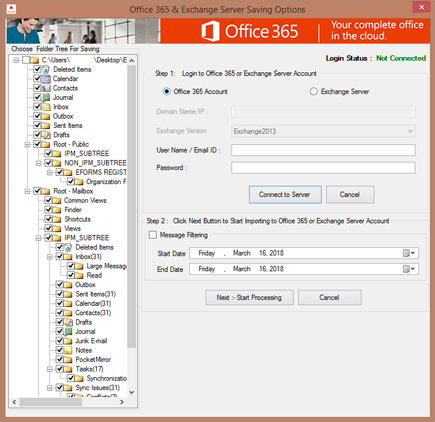
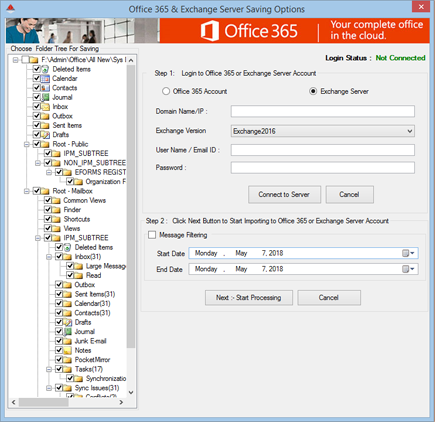
Step 7: If you want to Export your recovered data directly into "Office 365" or "Live Exchange server" then you have to click on Office 365 button. You will get a small window in which you can select Office 365 or Exchange Server, where you want to export your data and follow ahead instructions.
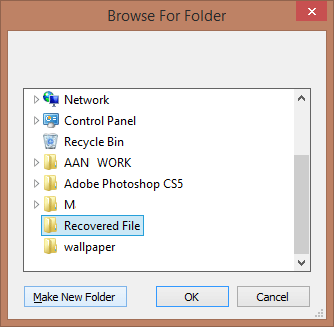
Step 8: Choose local path where you want to save your data and click "OK" button.
Step 9: Pressing OK button will start conversion process and here you can see it.
Step 10: After completing scanning process you will see a process completion message in small pop up window.
